Behind The Scenes - The Making of My Sterling Silver Coffin Earrings
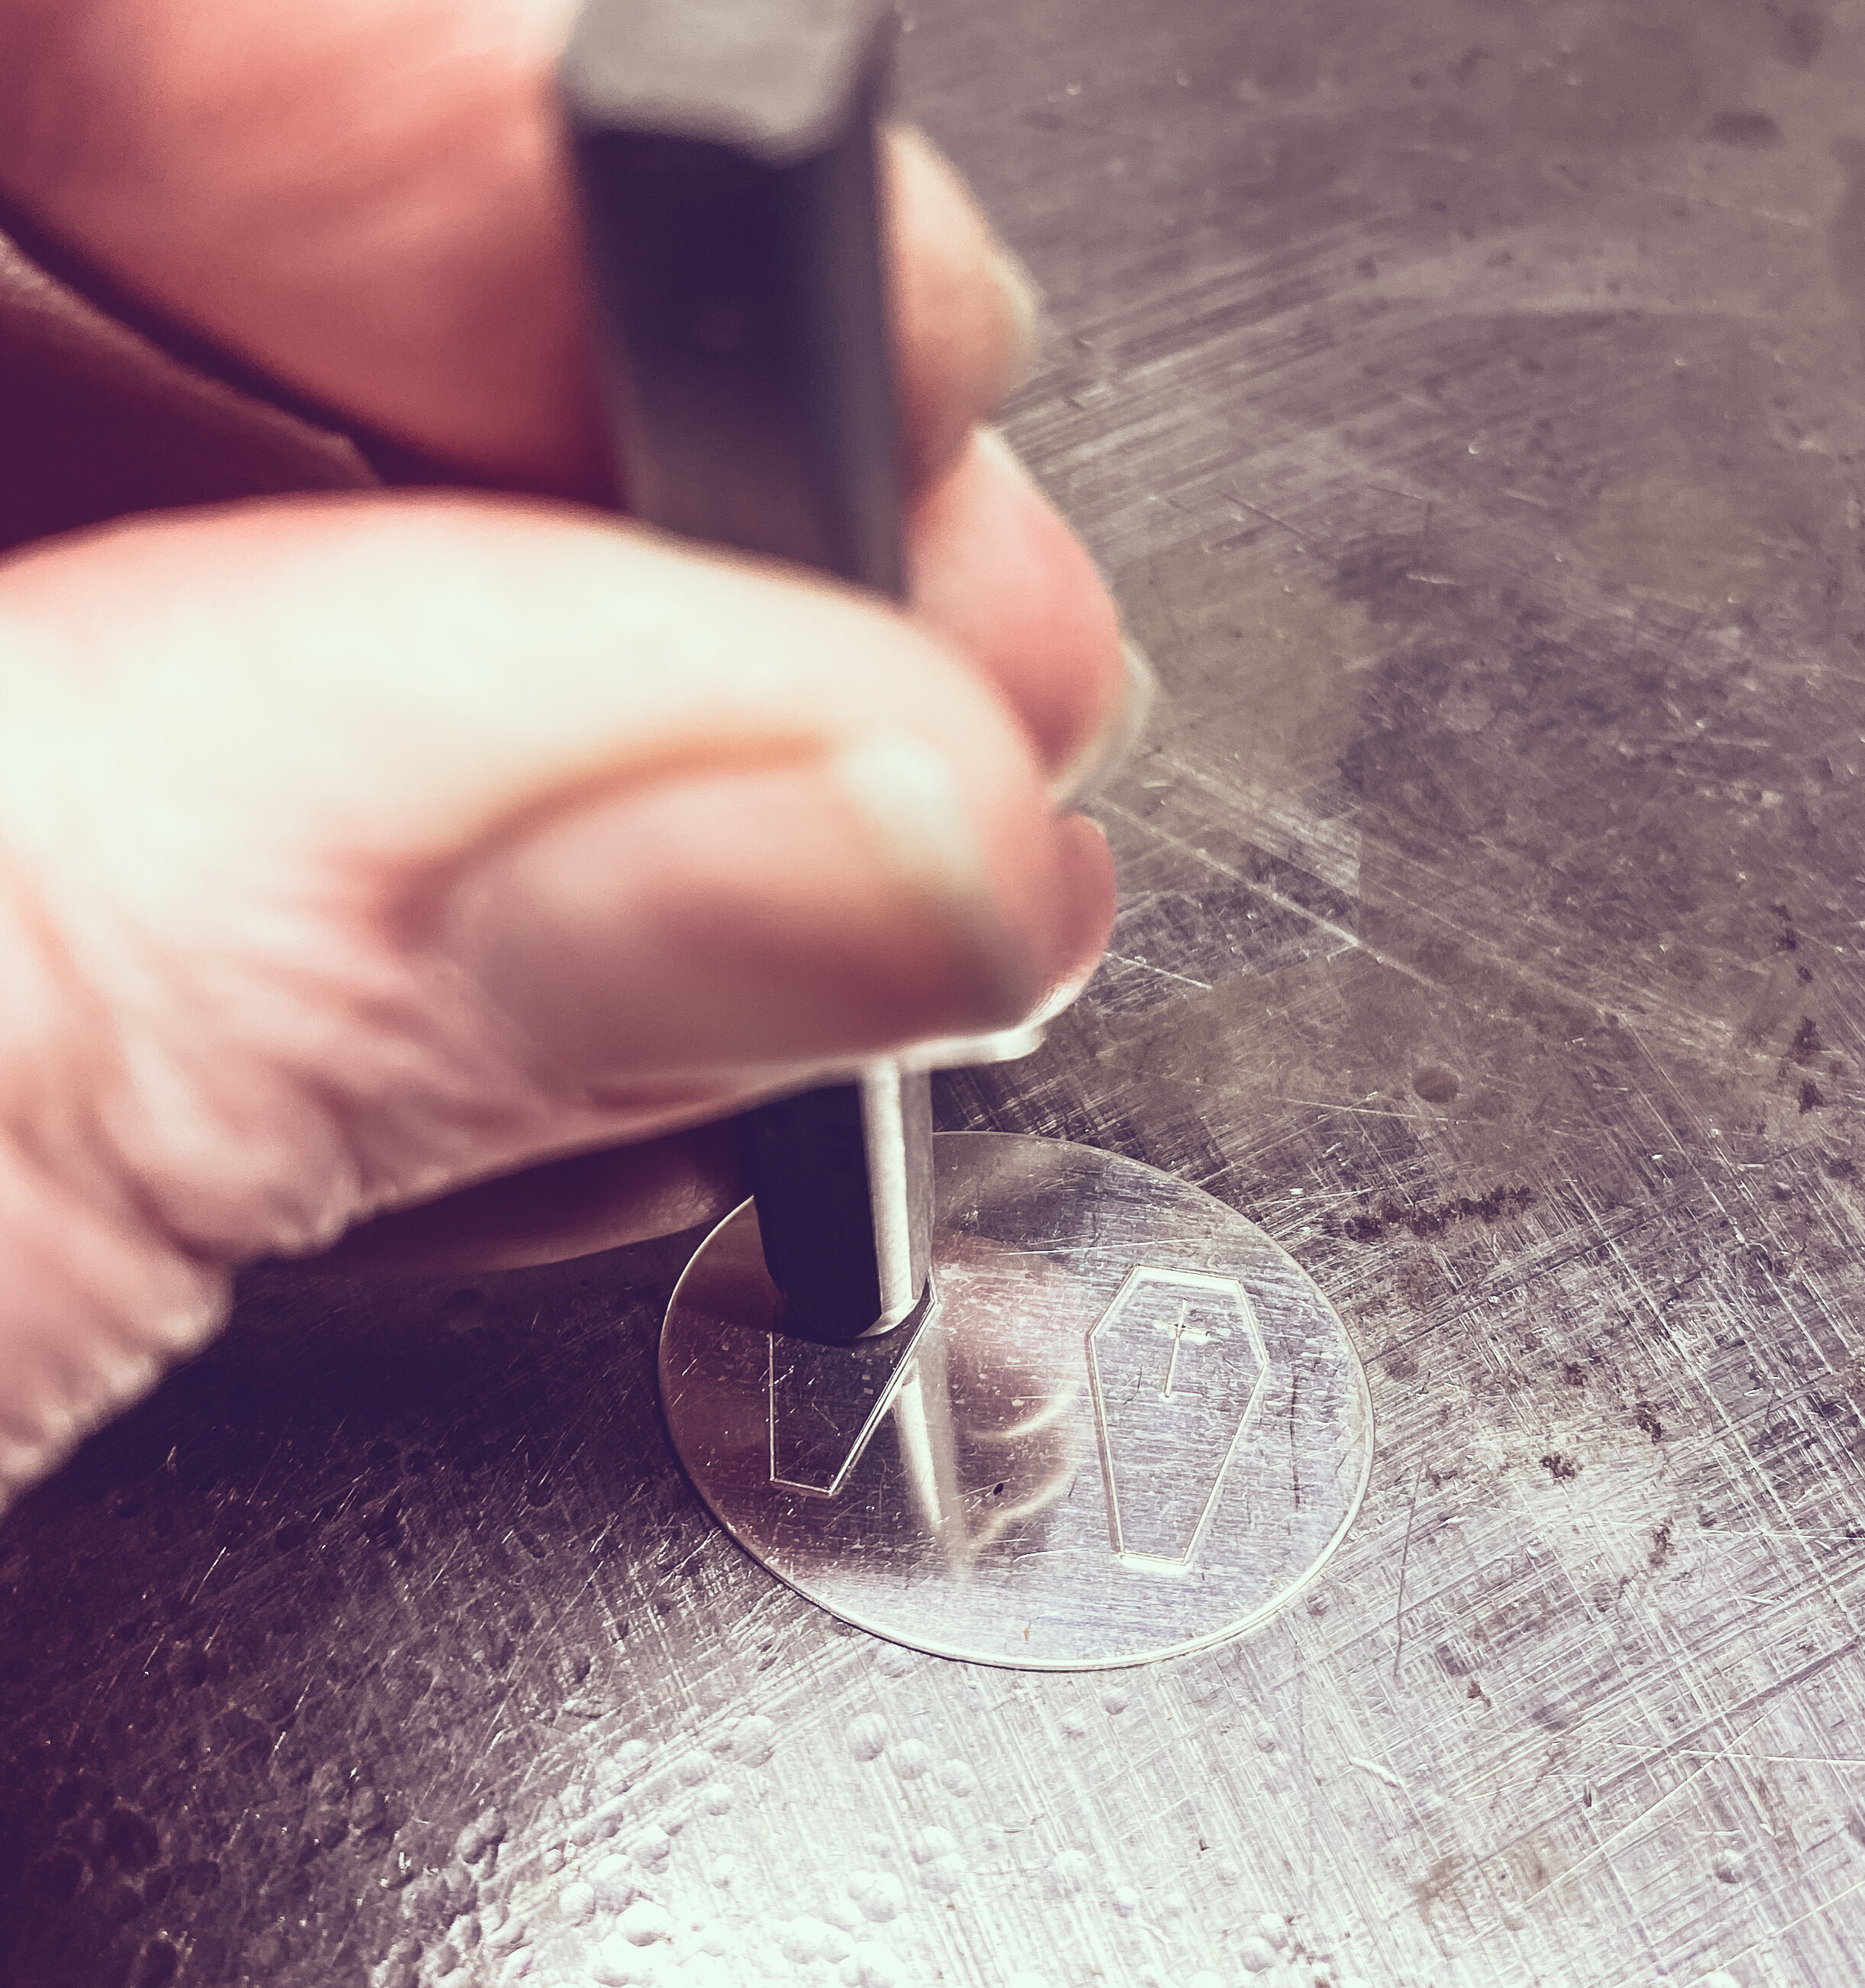
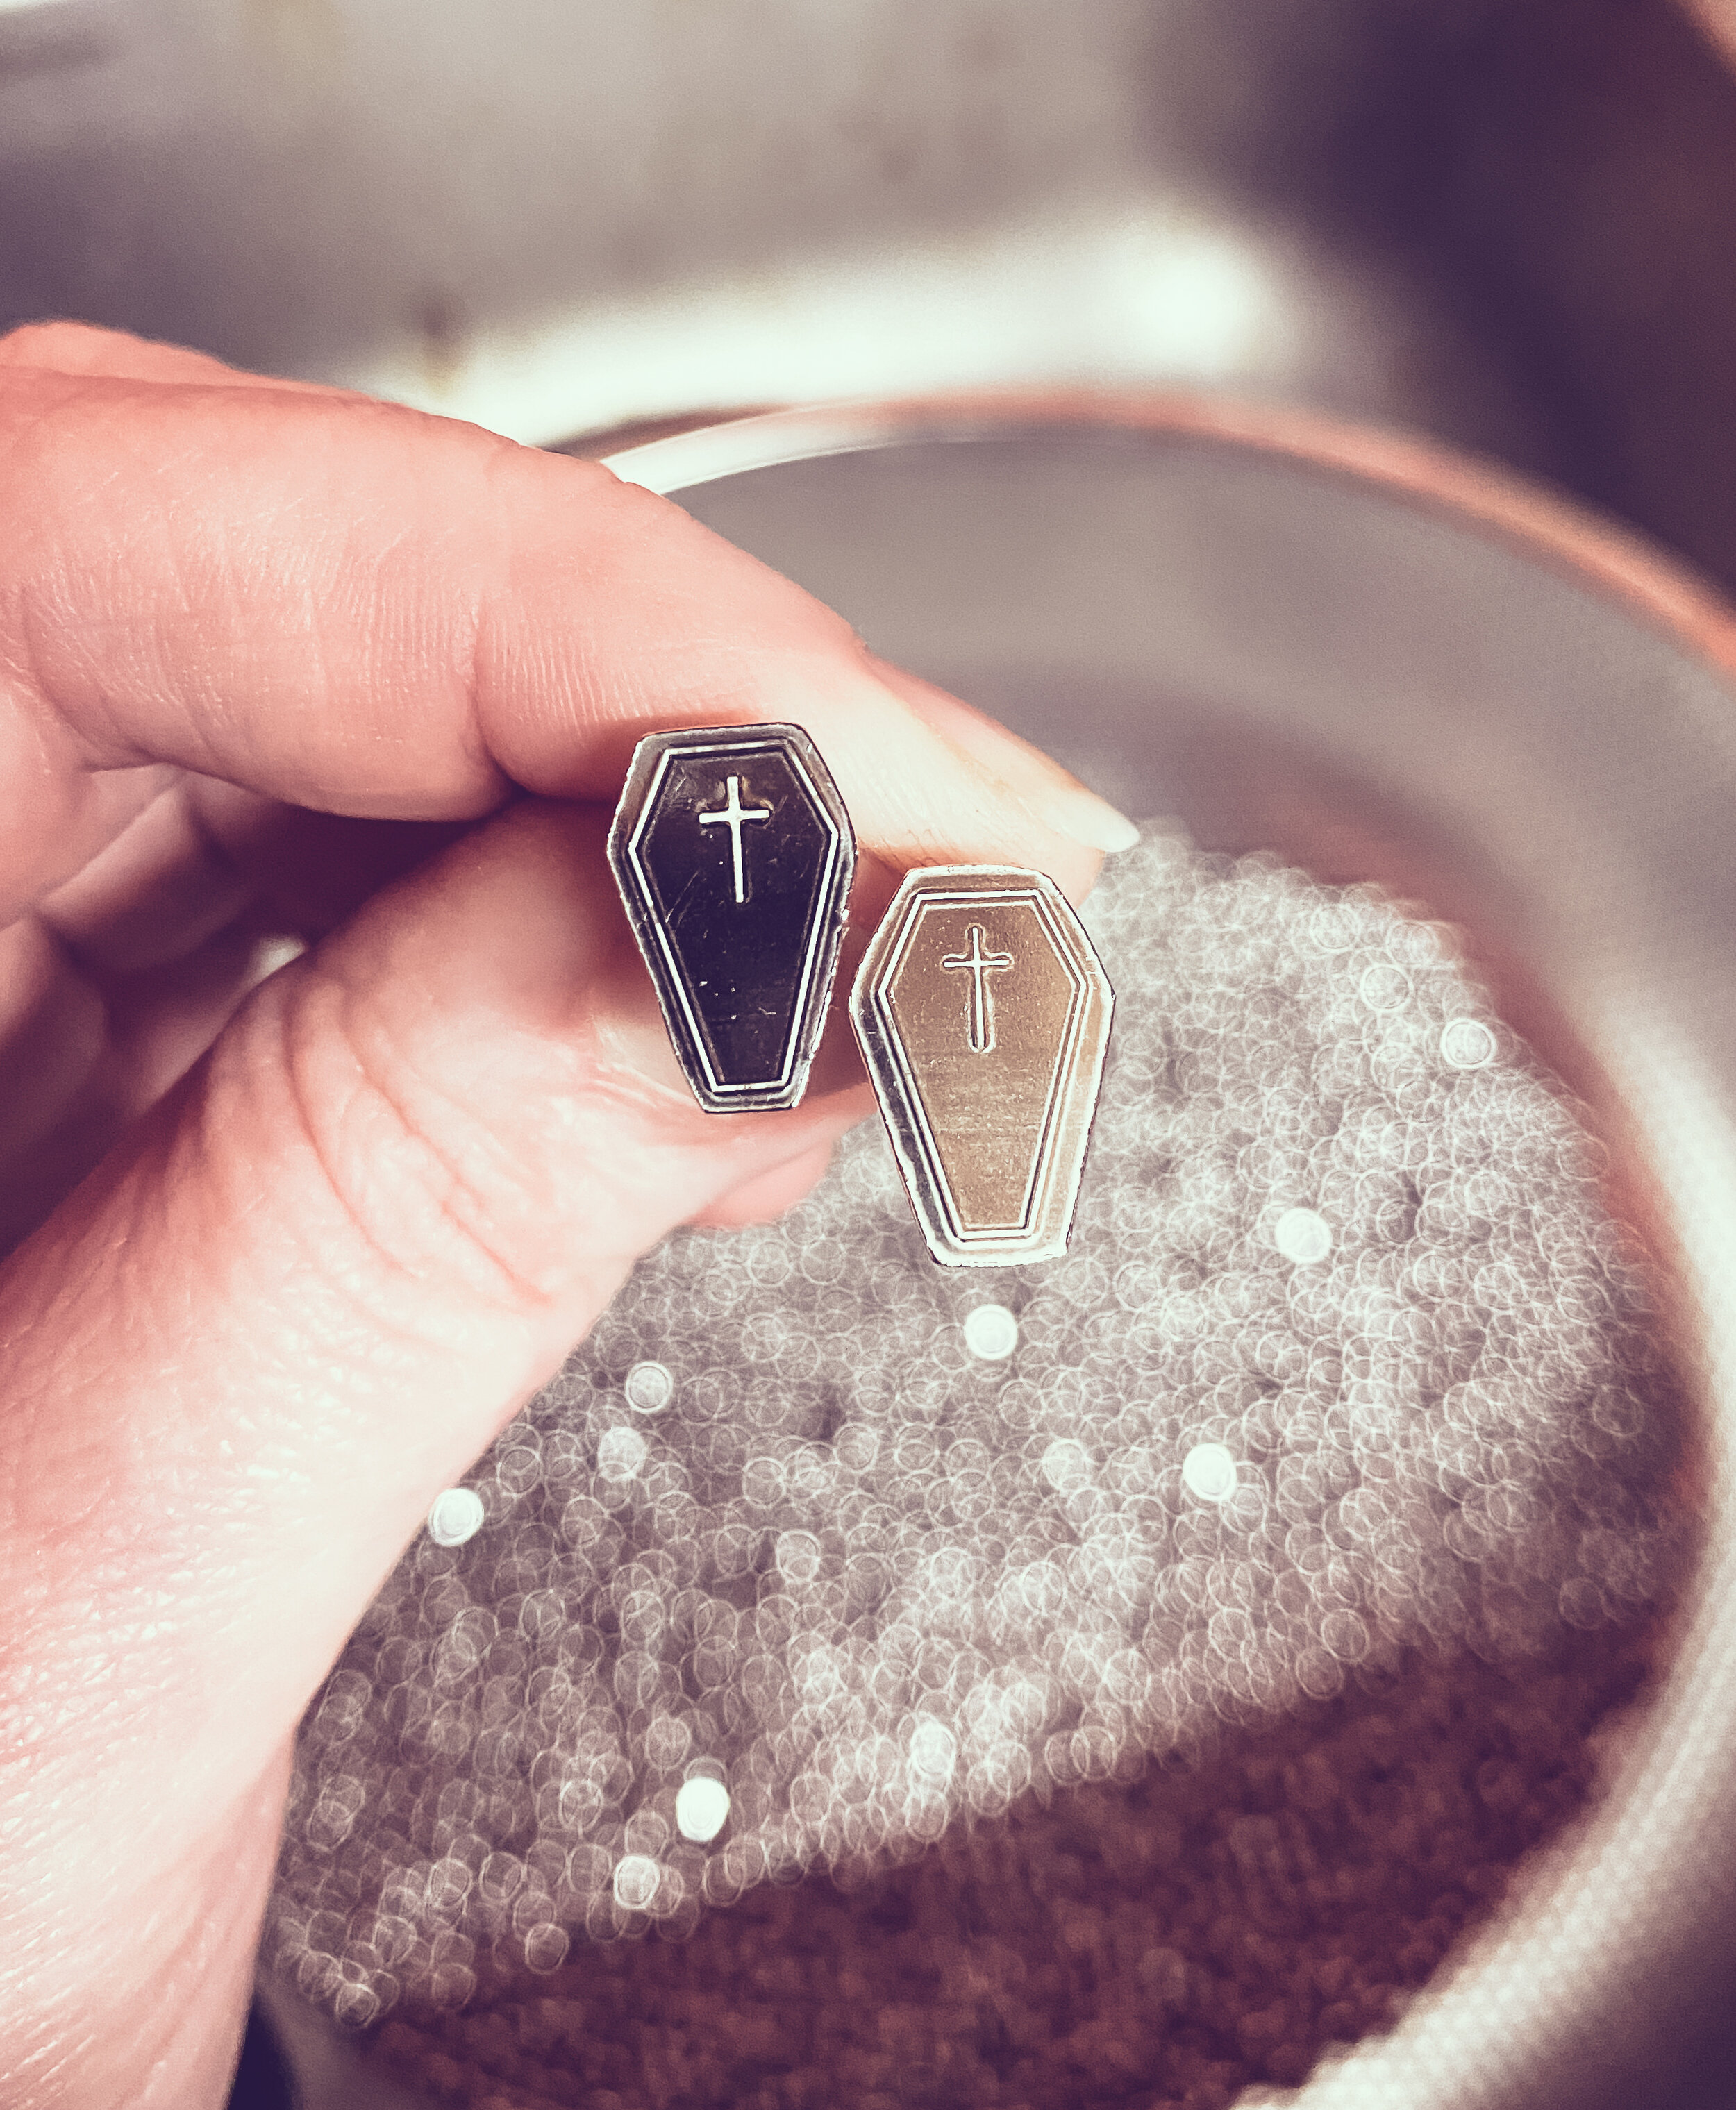
Now that June is over and the Father’s Day craziness is (mostly) behind me, I decided to take a minute to make something that I really wanted to make. I love Halloween. I love fall, I love dressing up, I mean candy! and love the fun scariness of it all. I also may or may not have an unhealthy obsession with vampires. Anywho, when I saw this coffin stamp from Font Fixation, I knew I had to get it and make earrings. I also have many many many other ideas for it, but earrings are quick and usually easy.
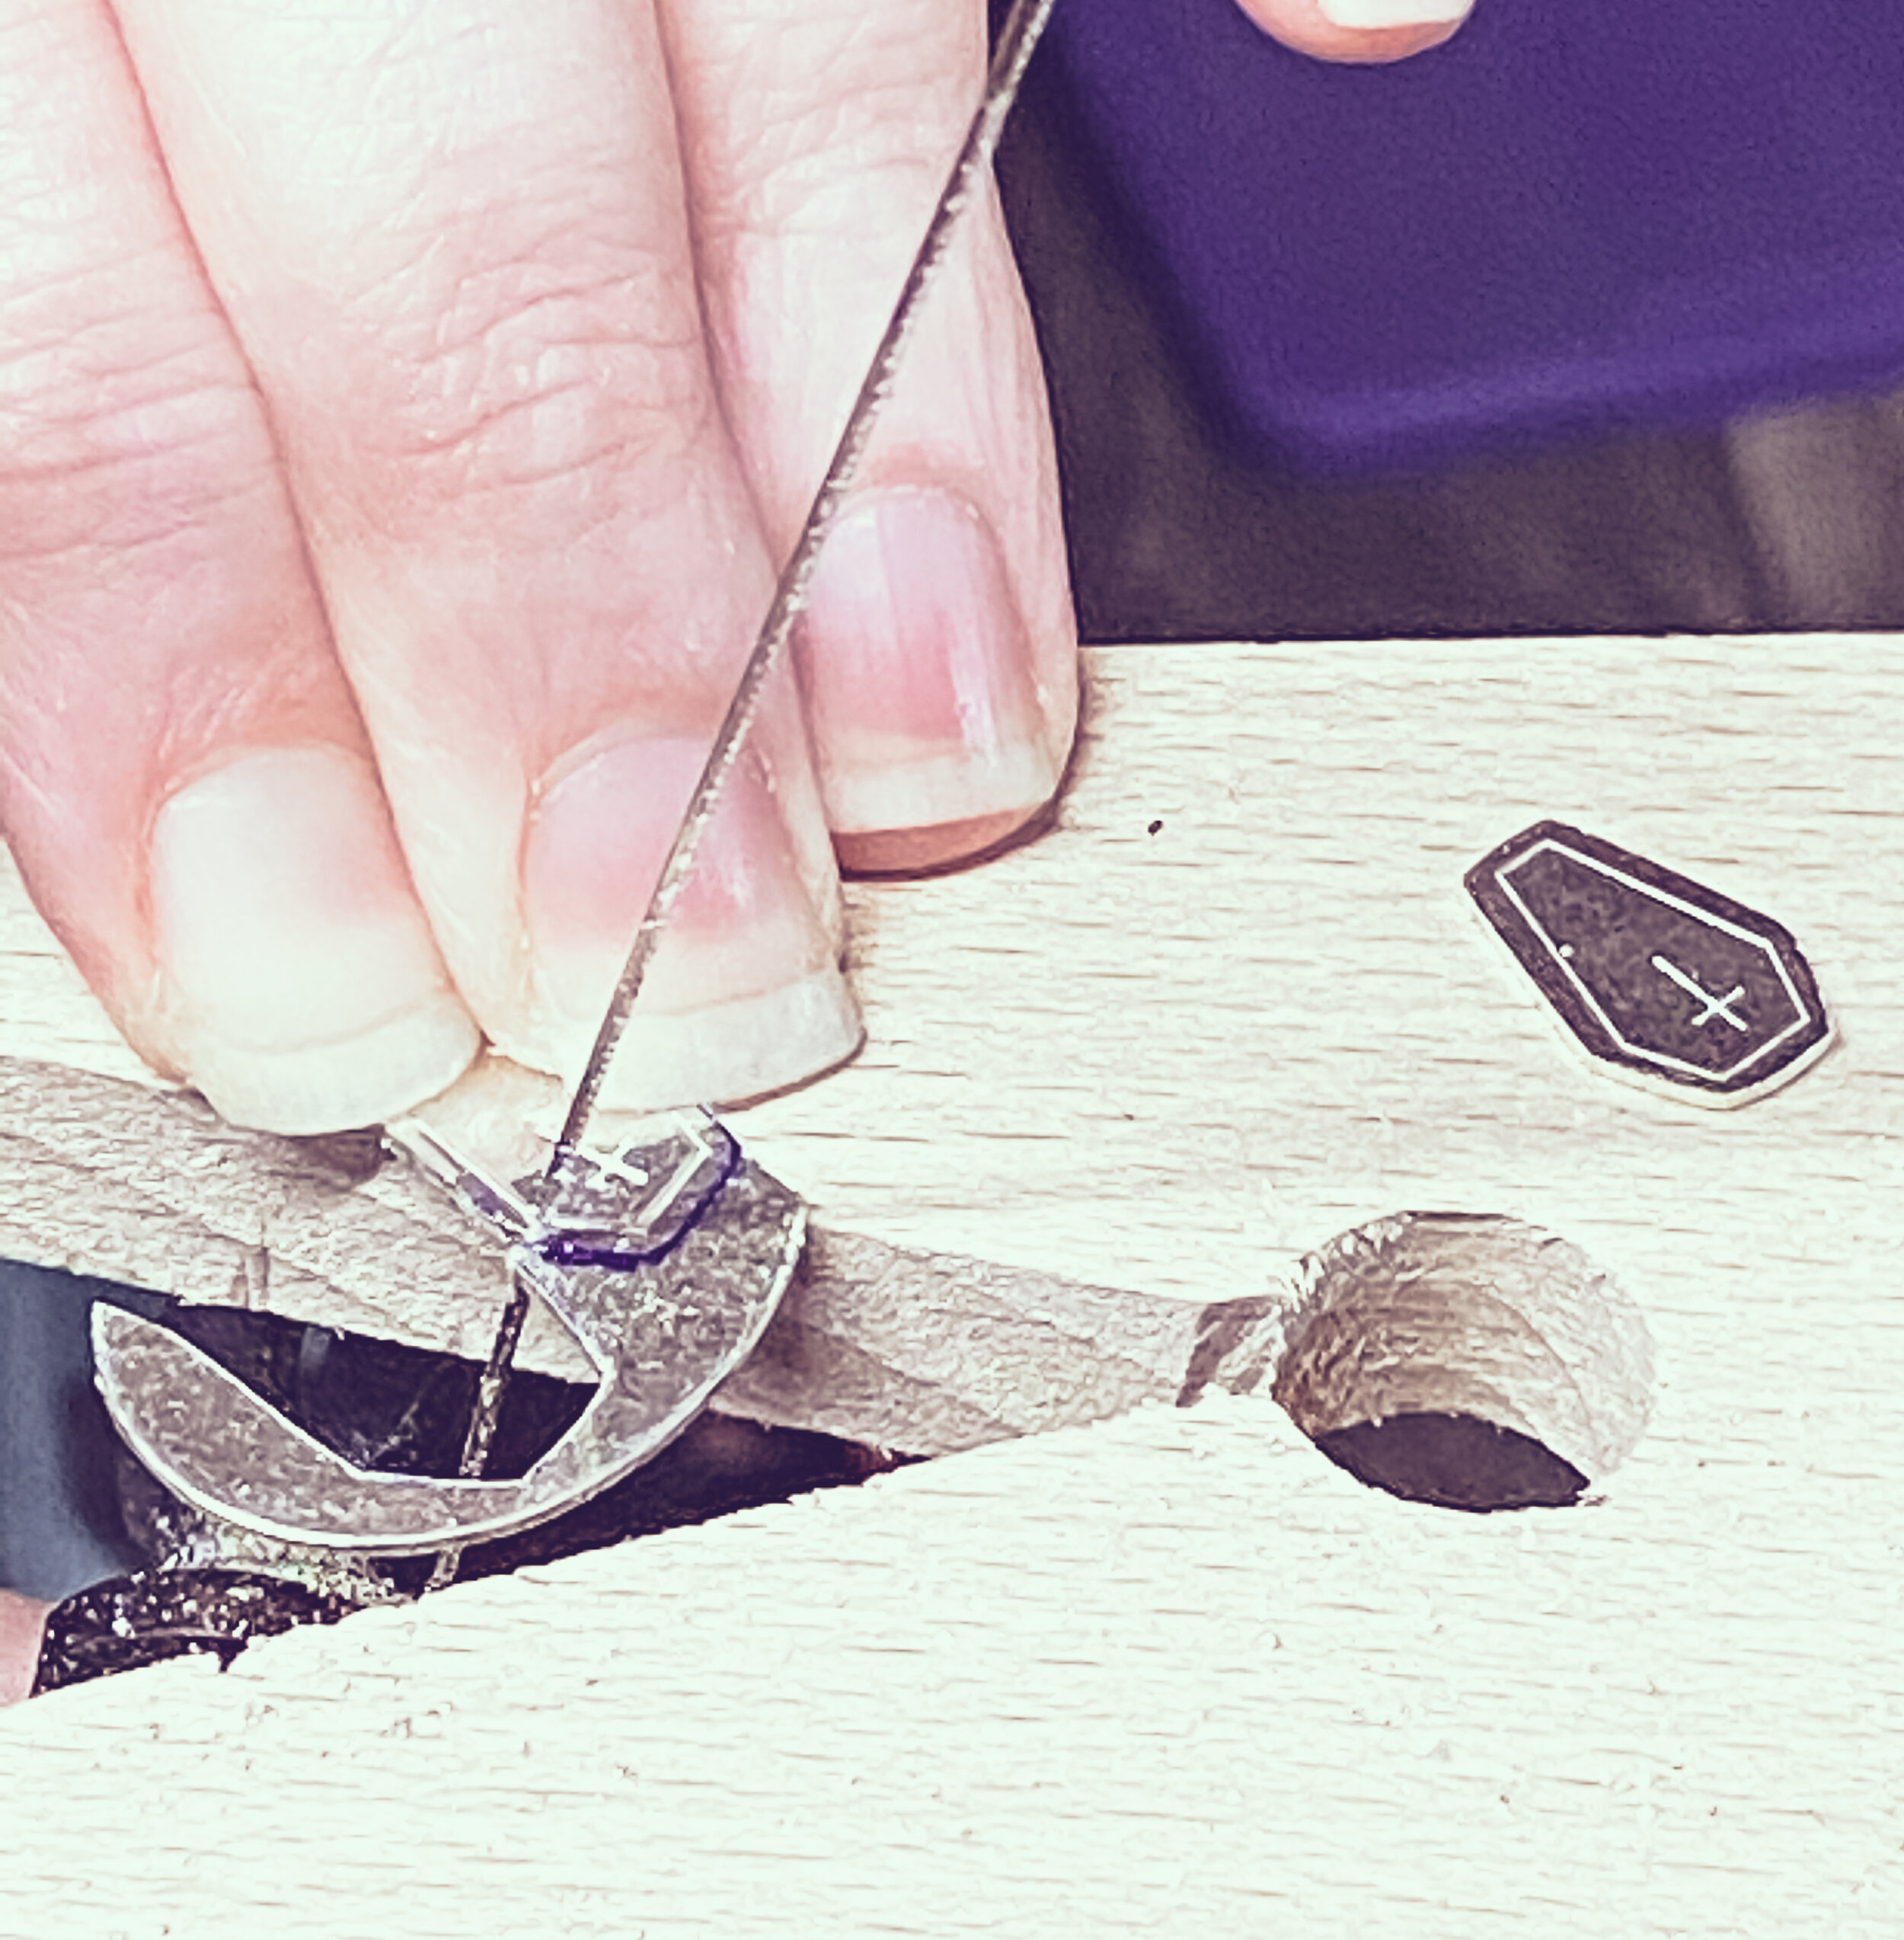
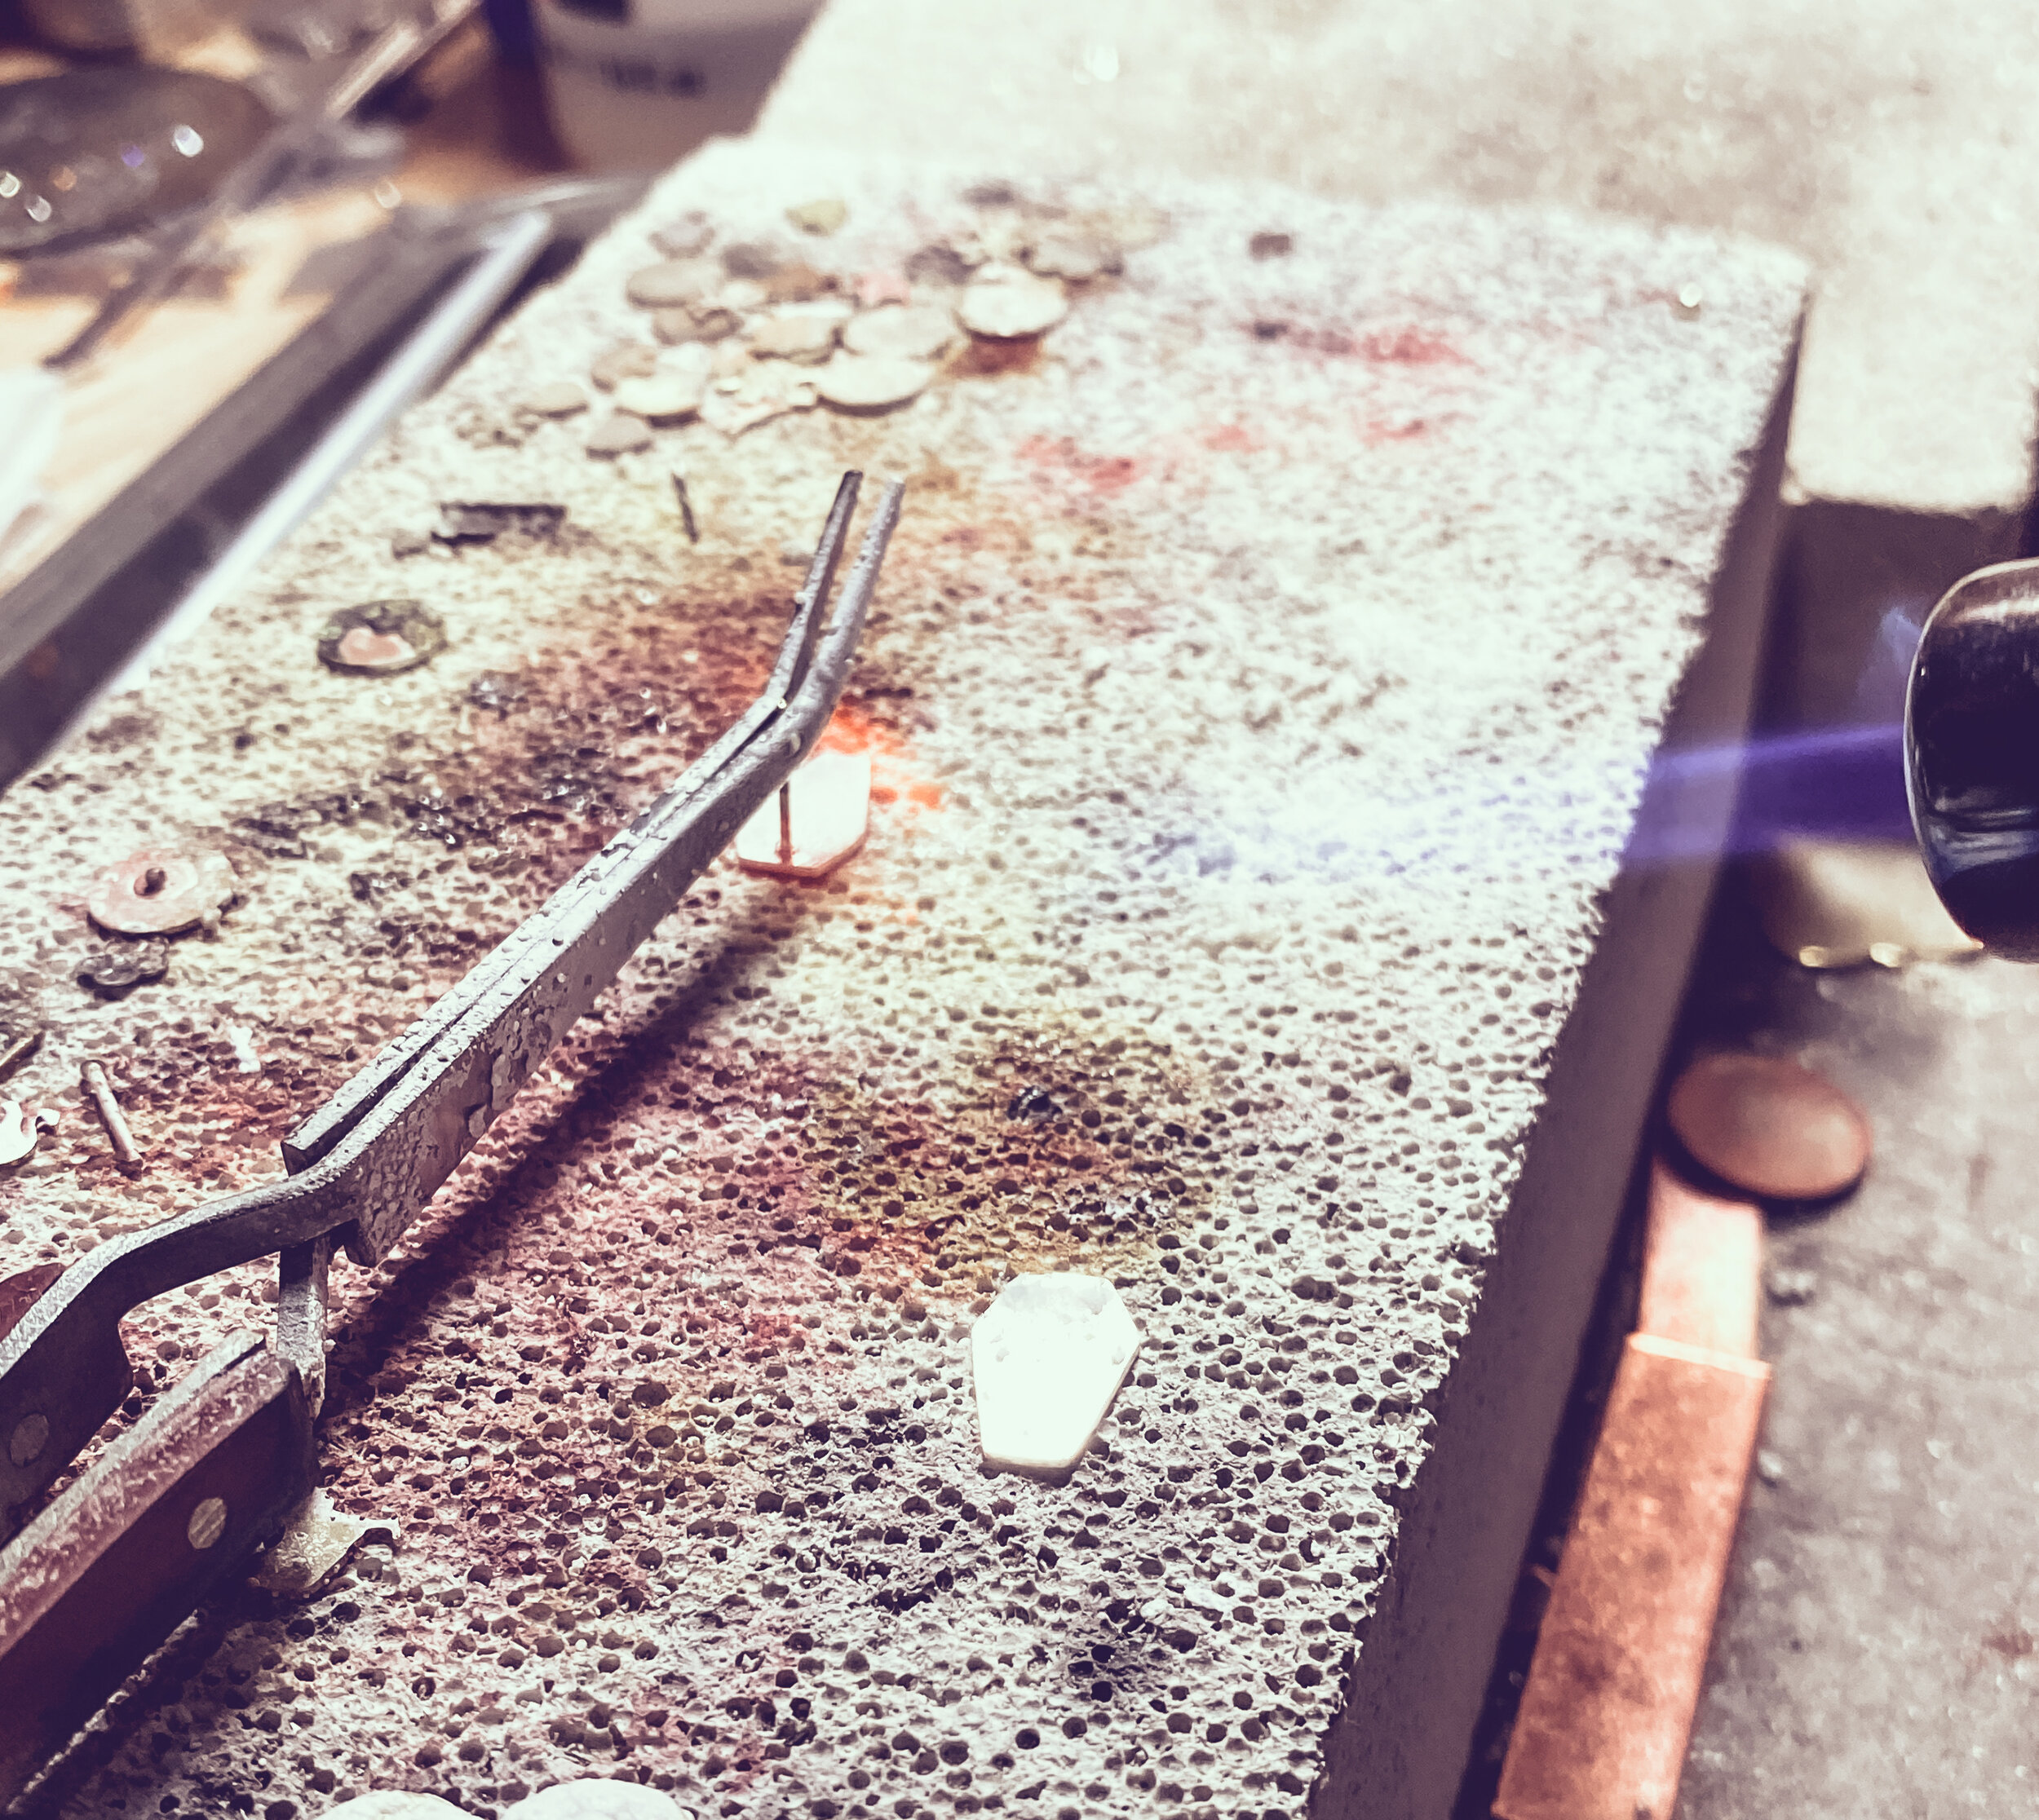
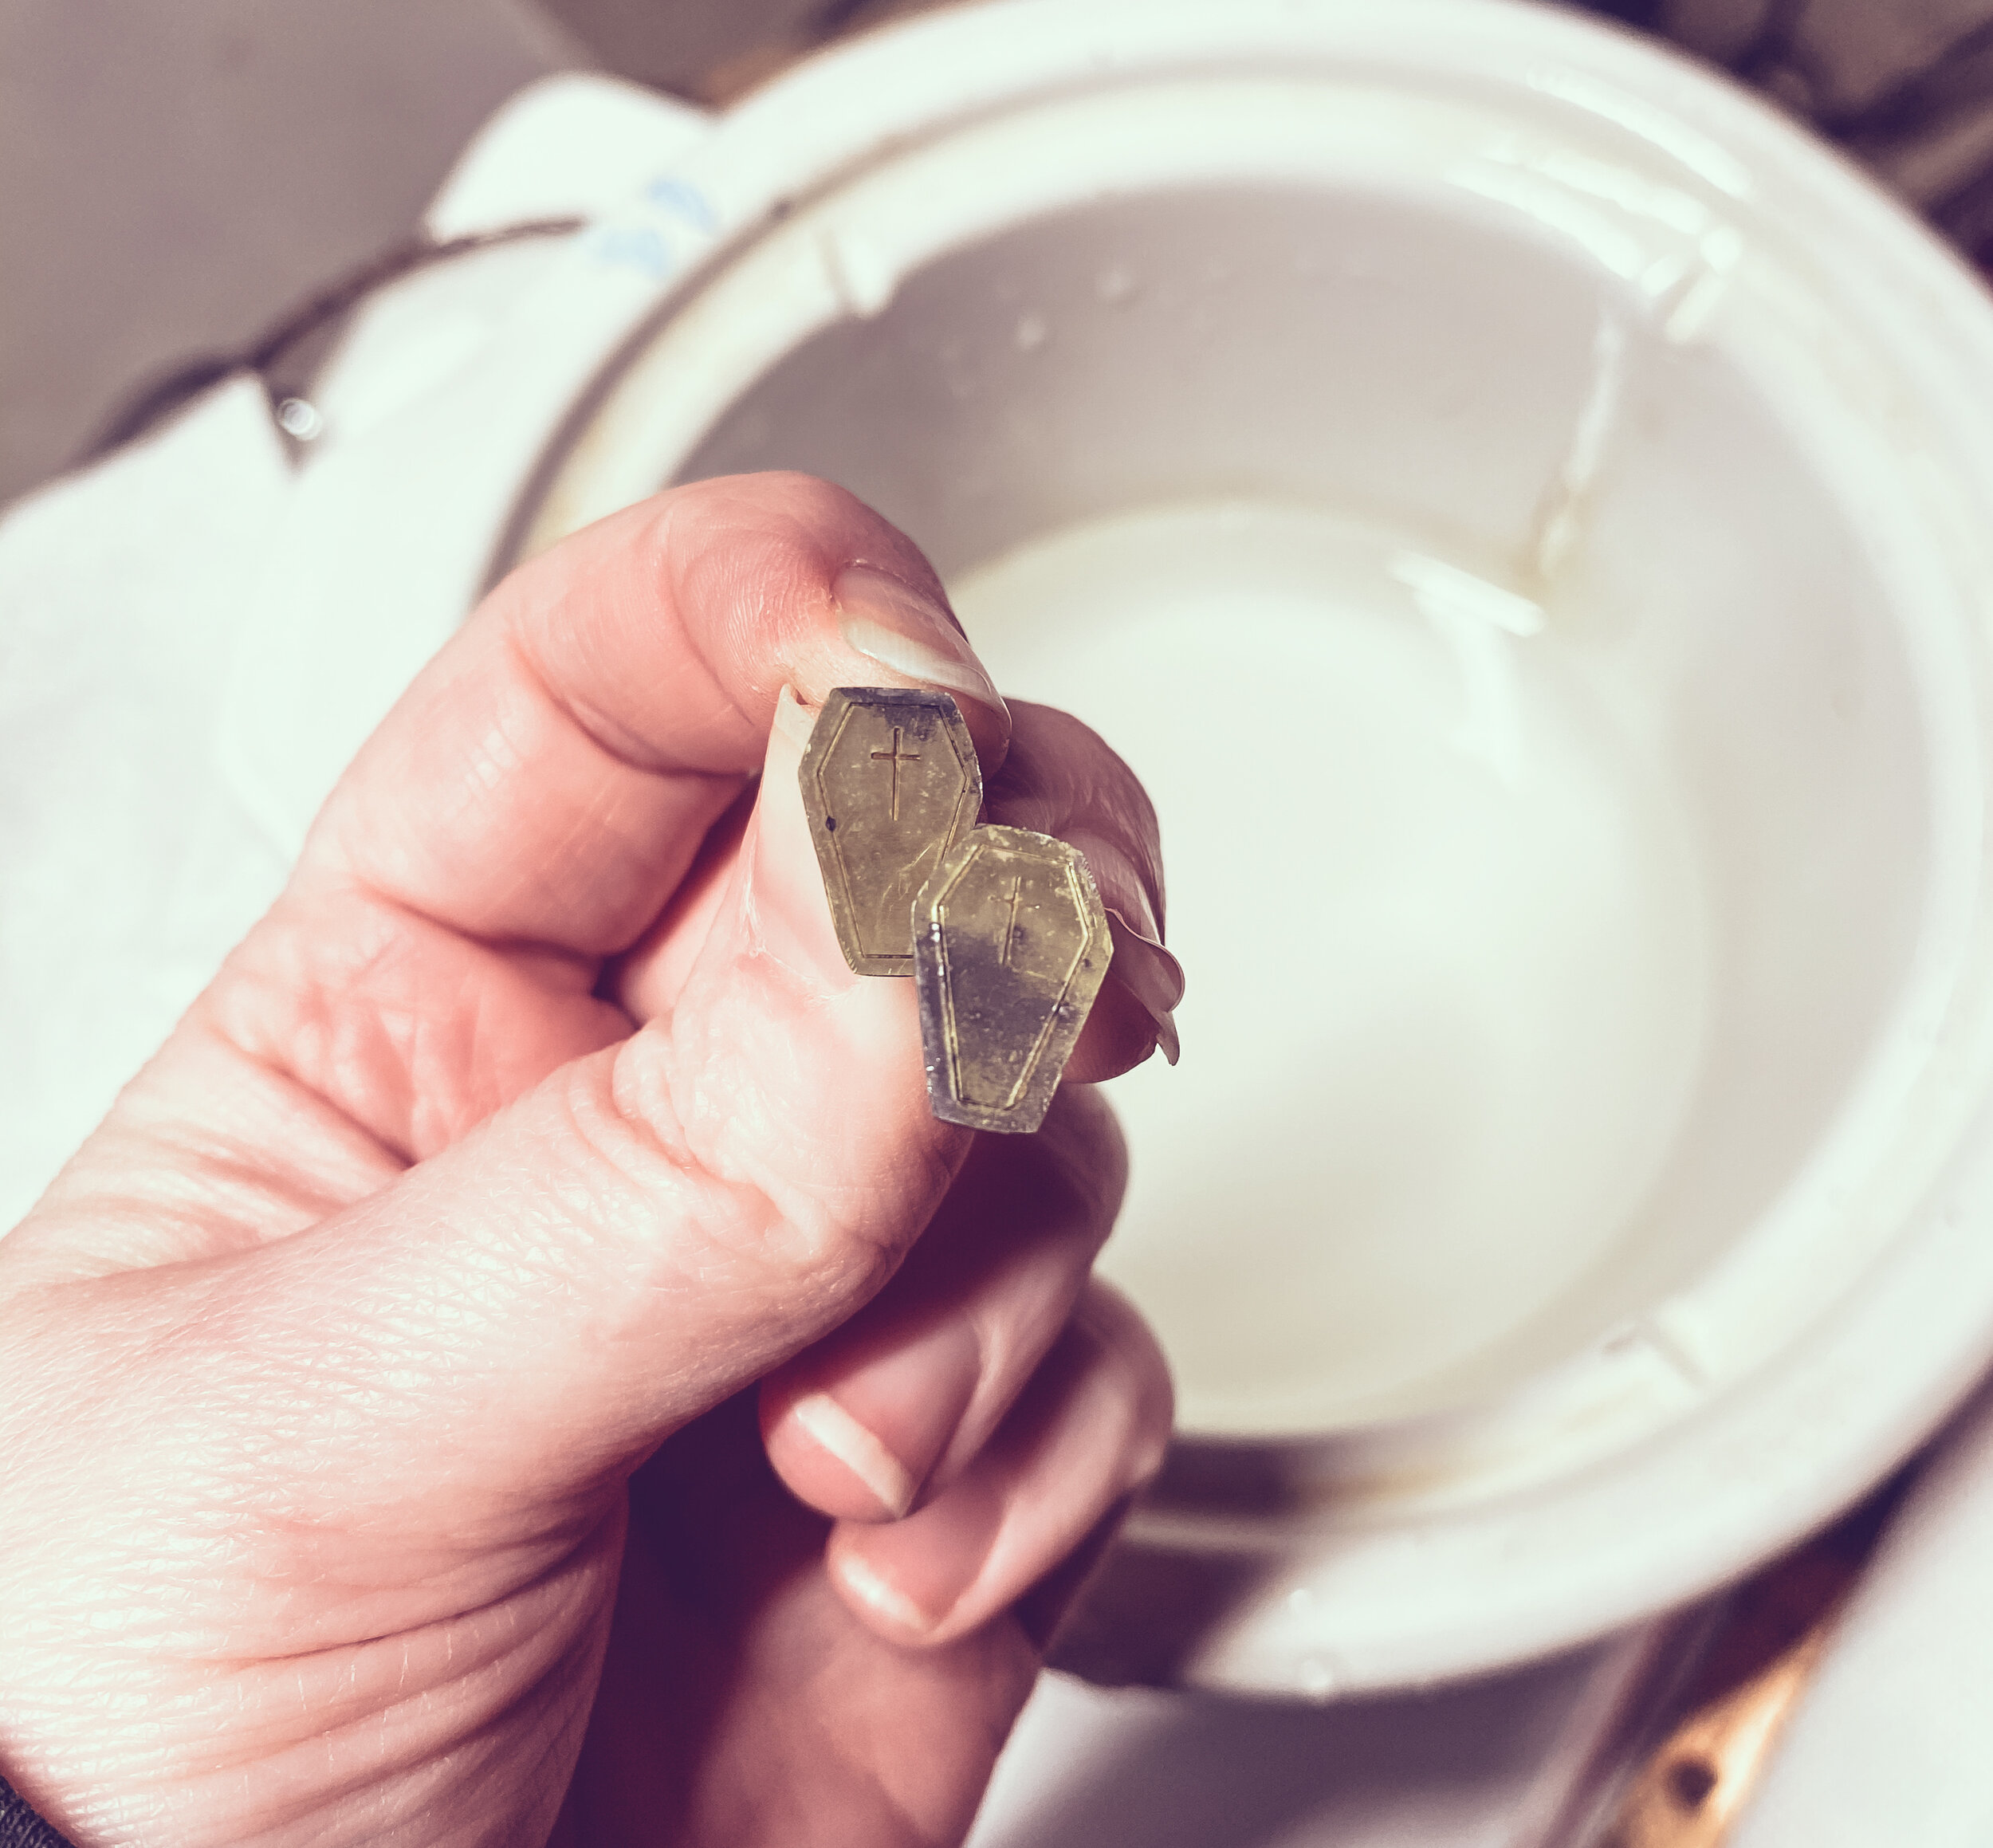
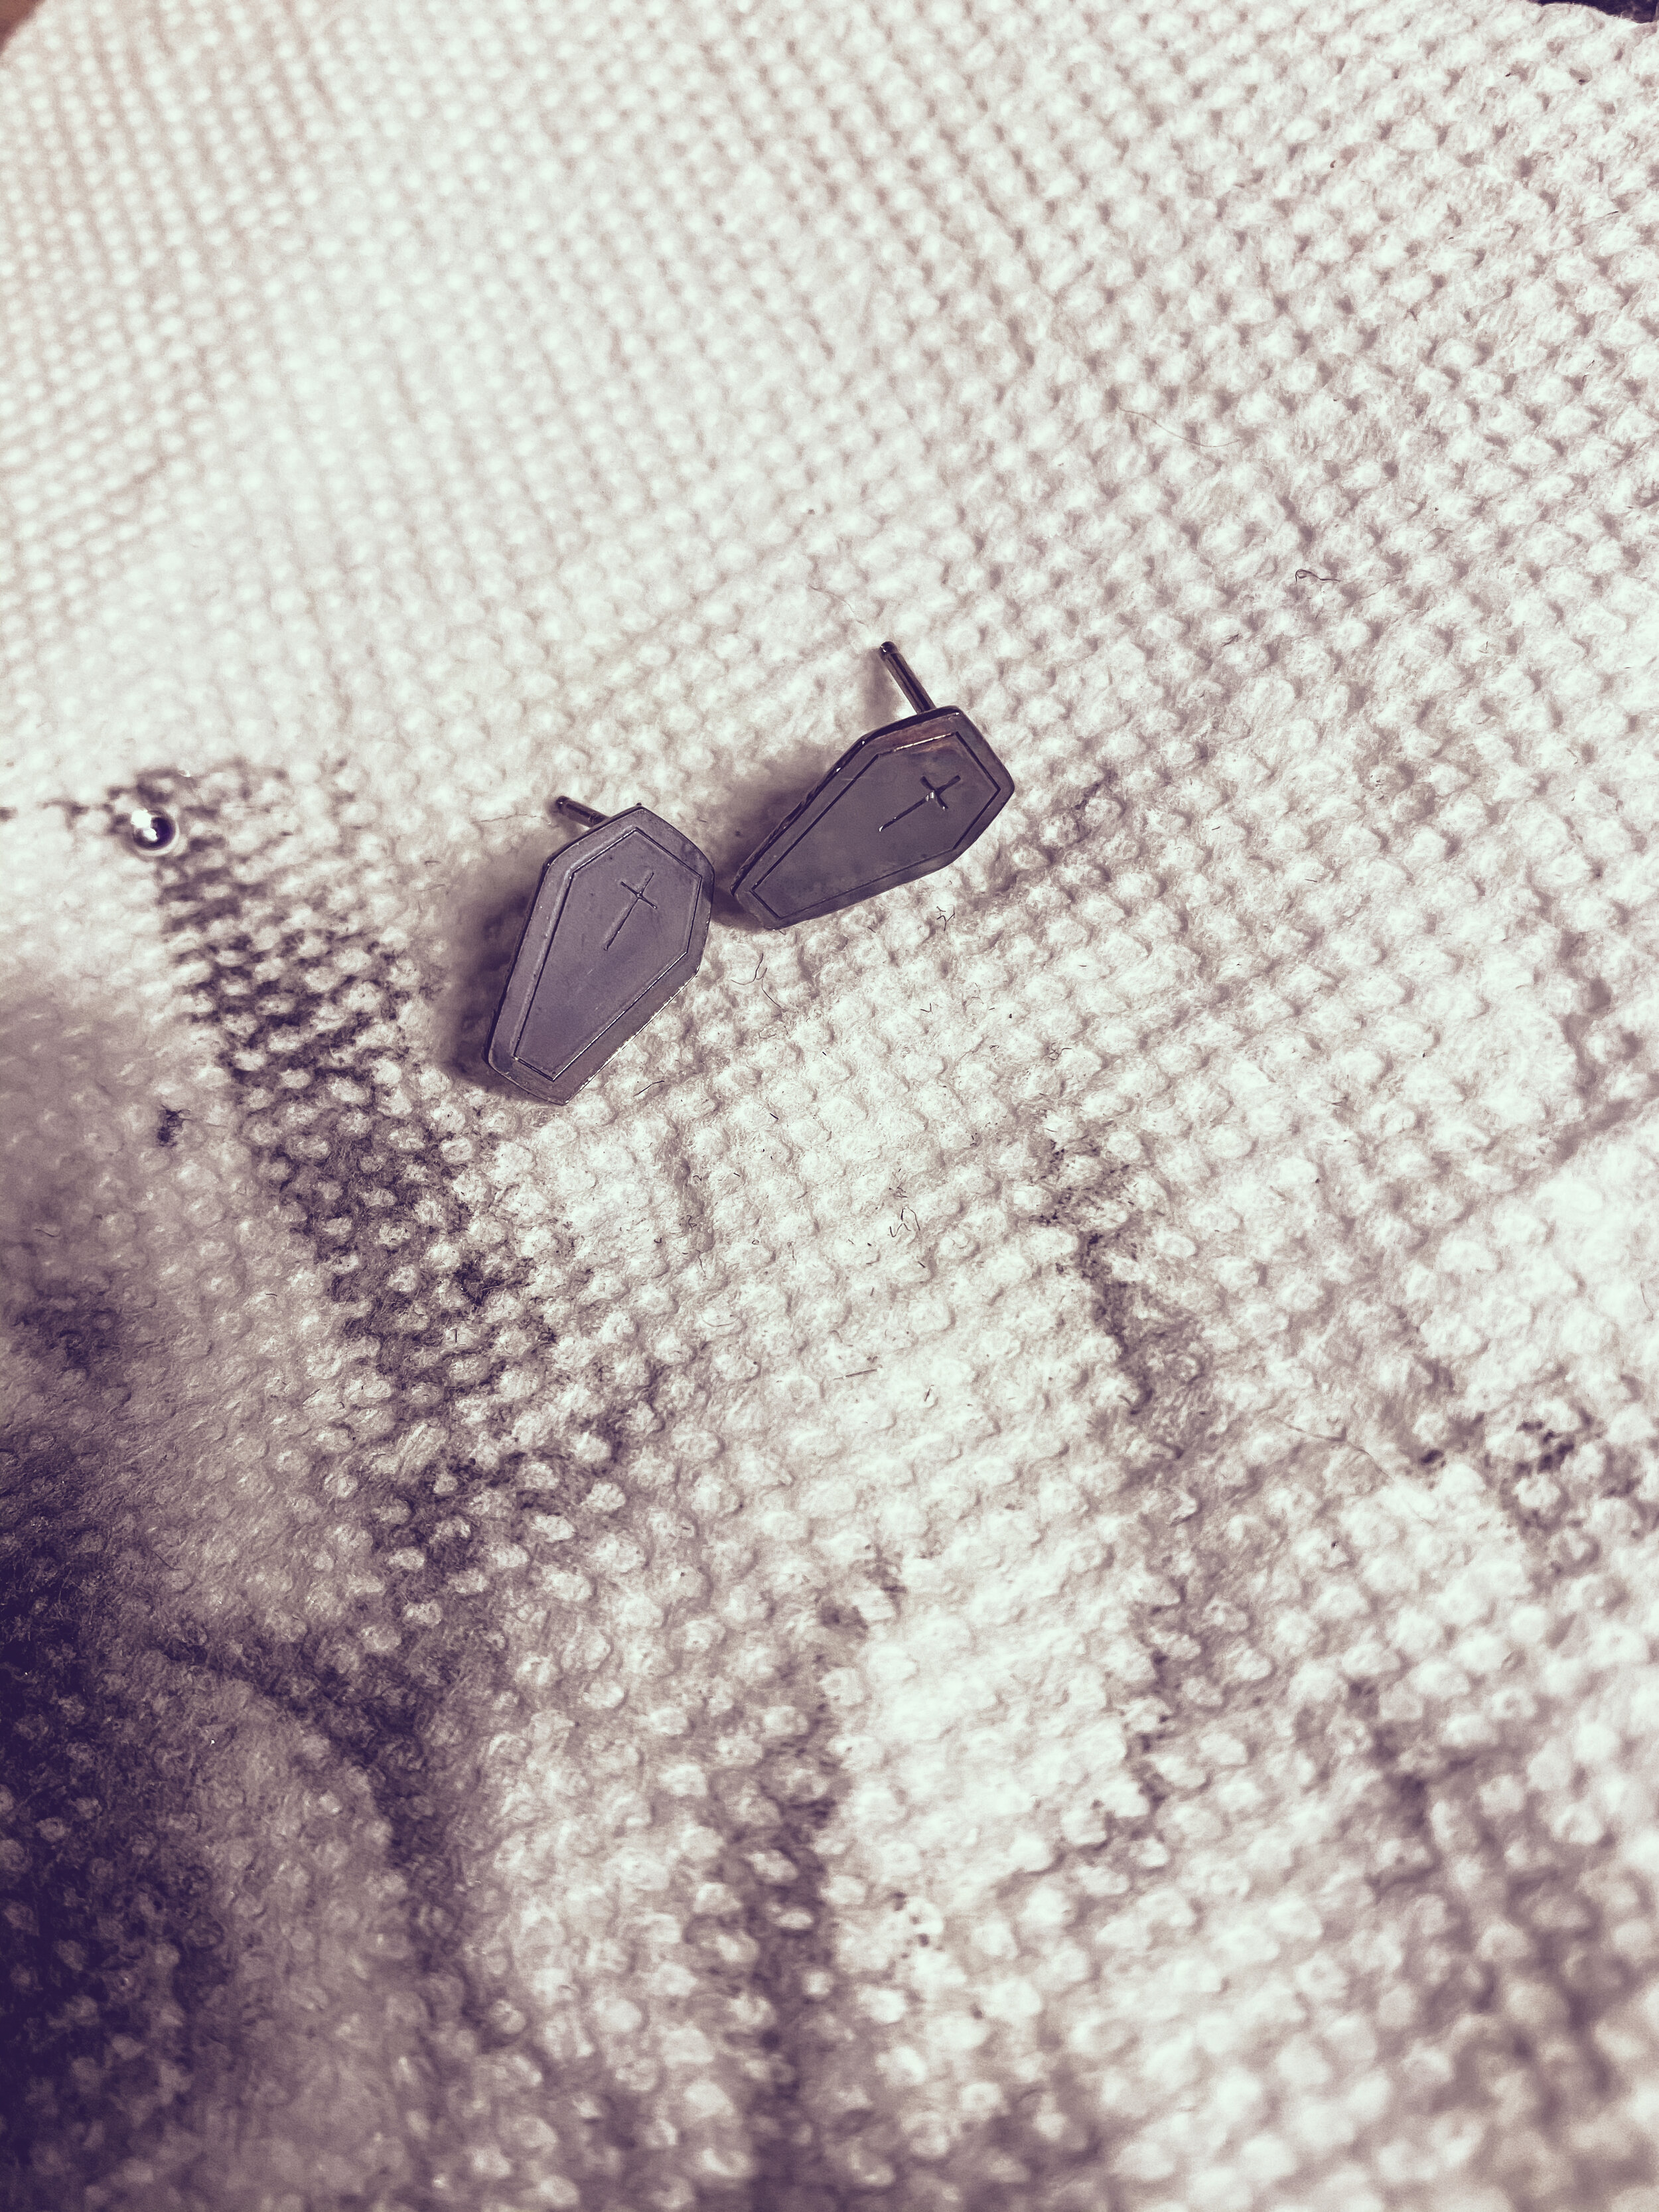
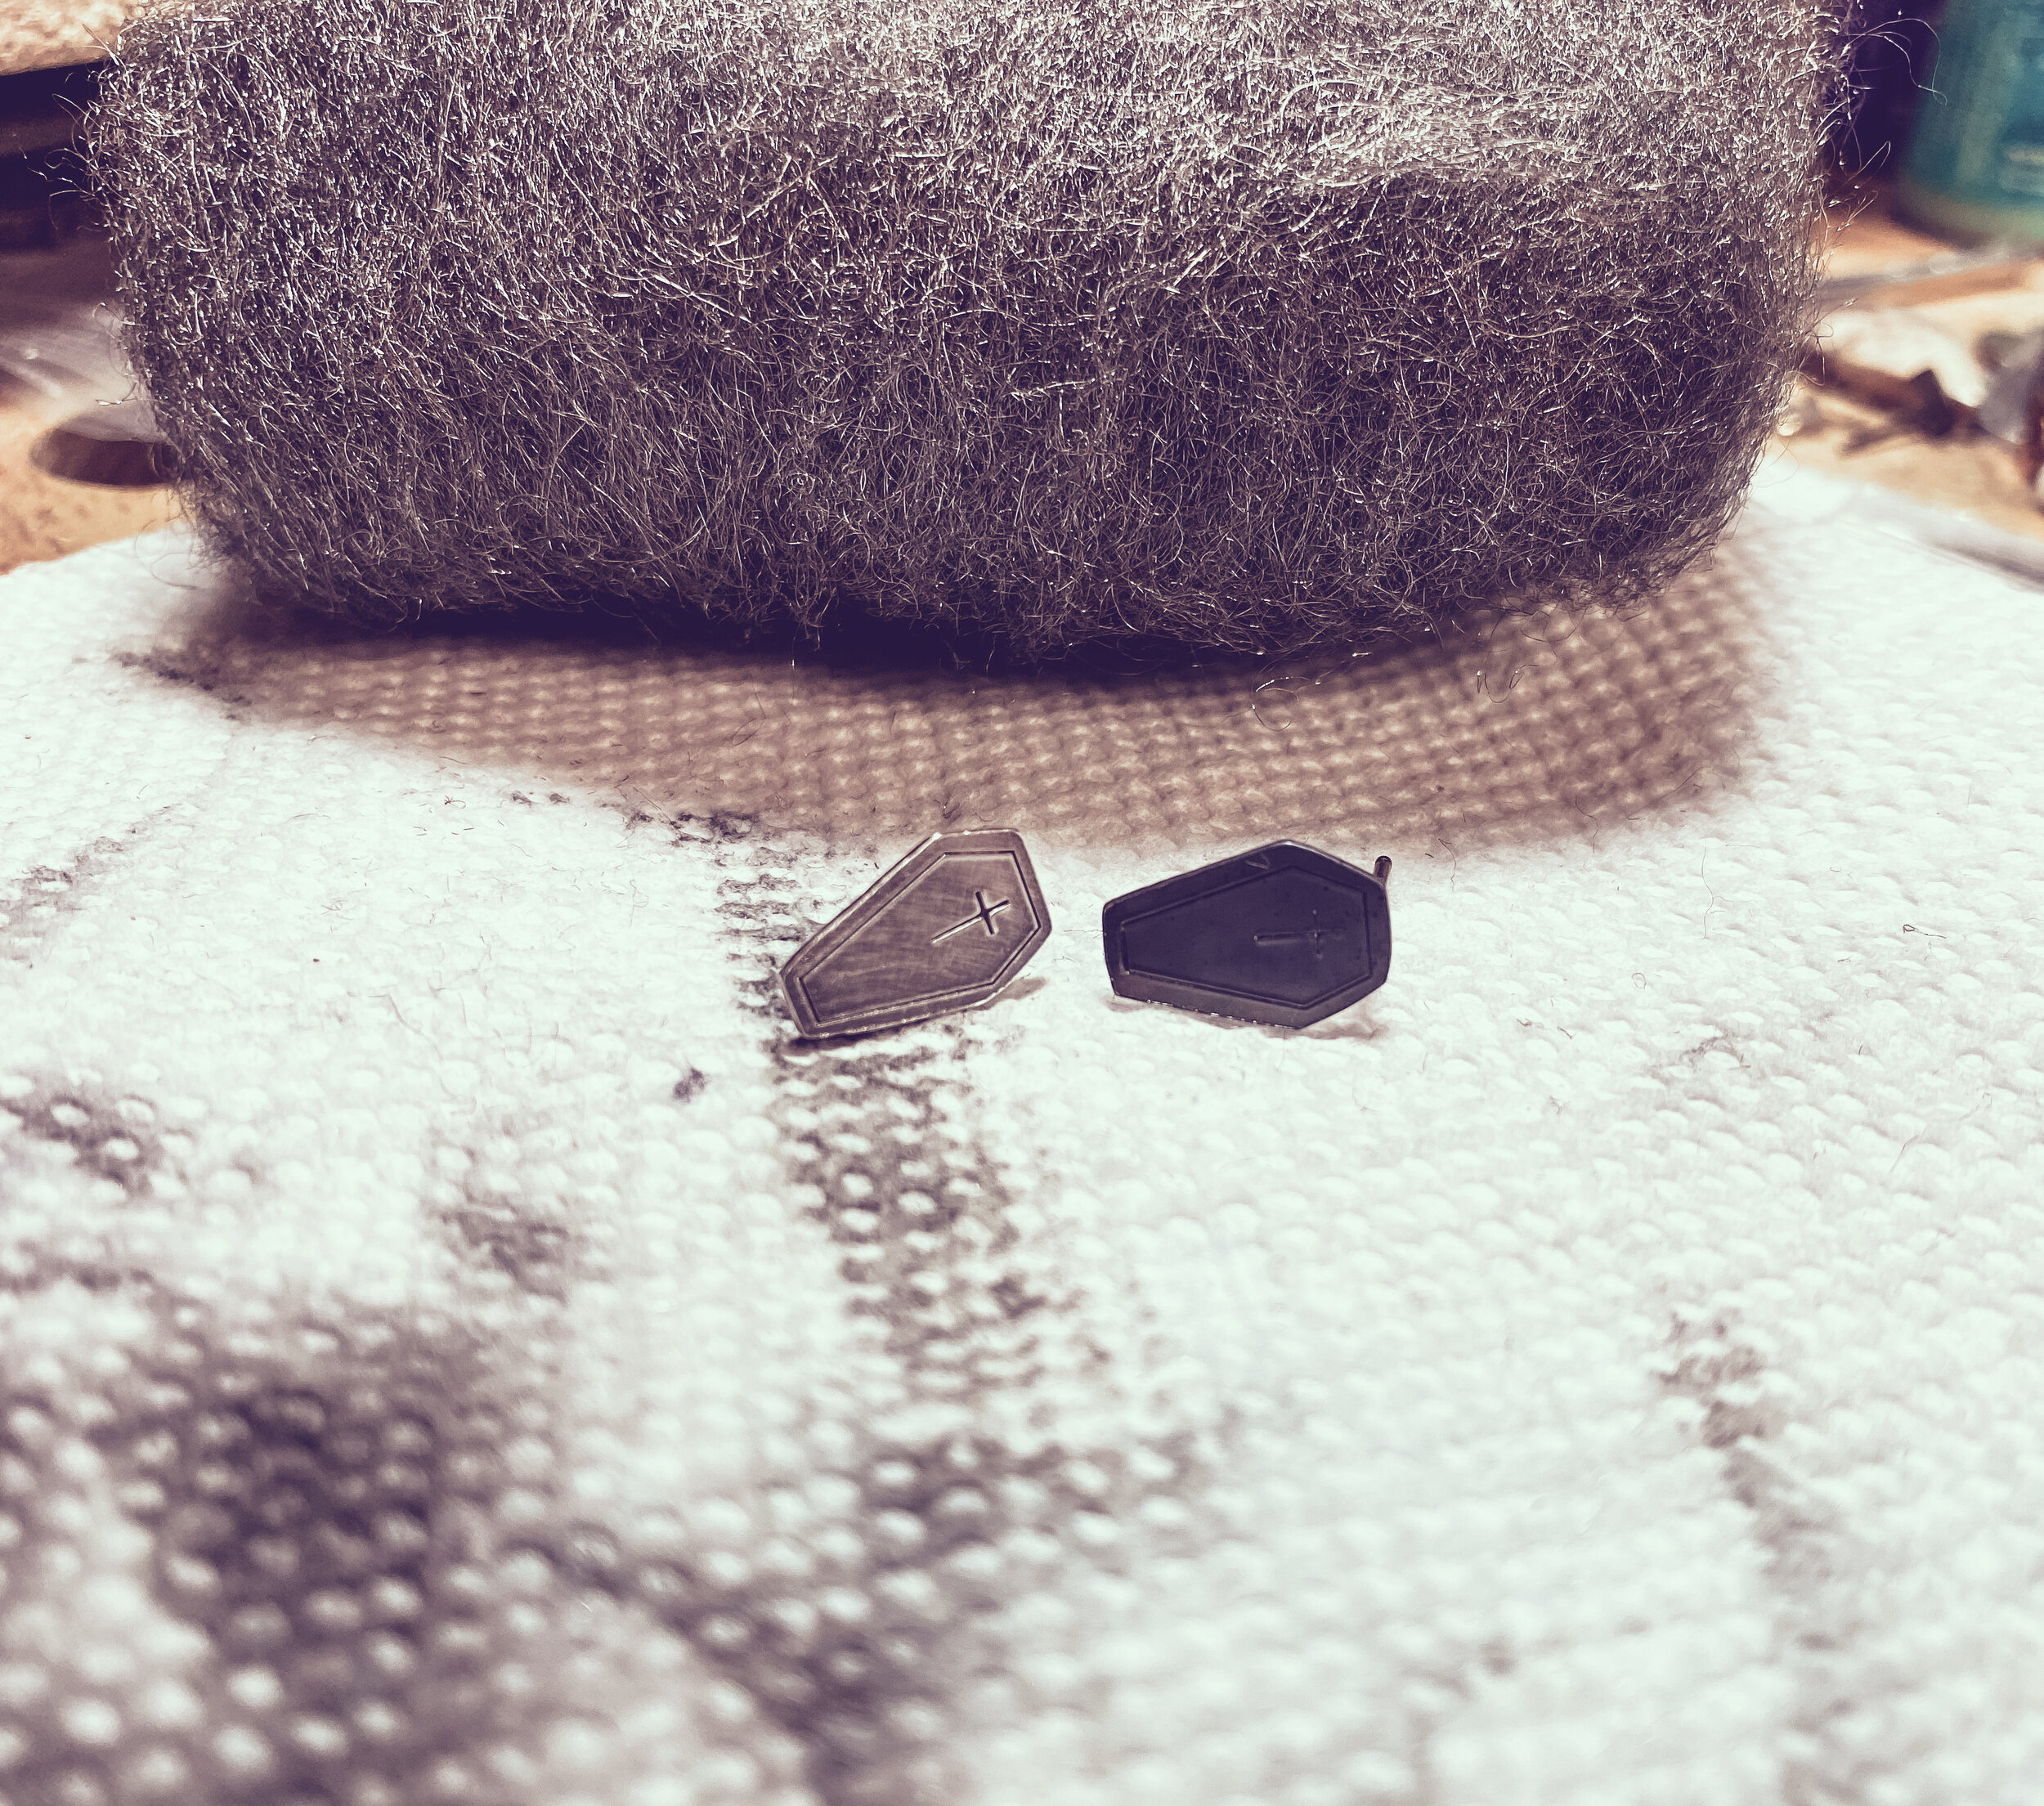
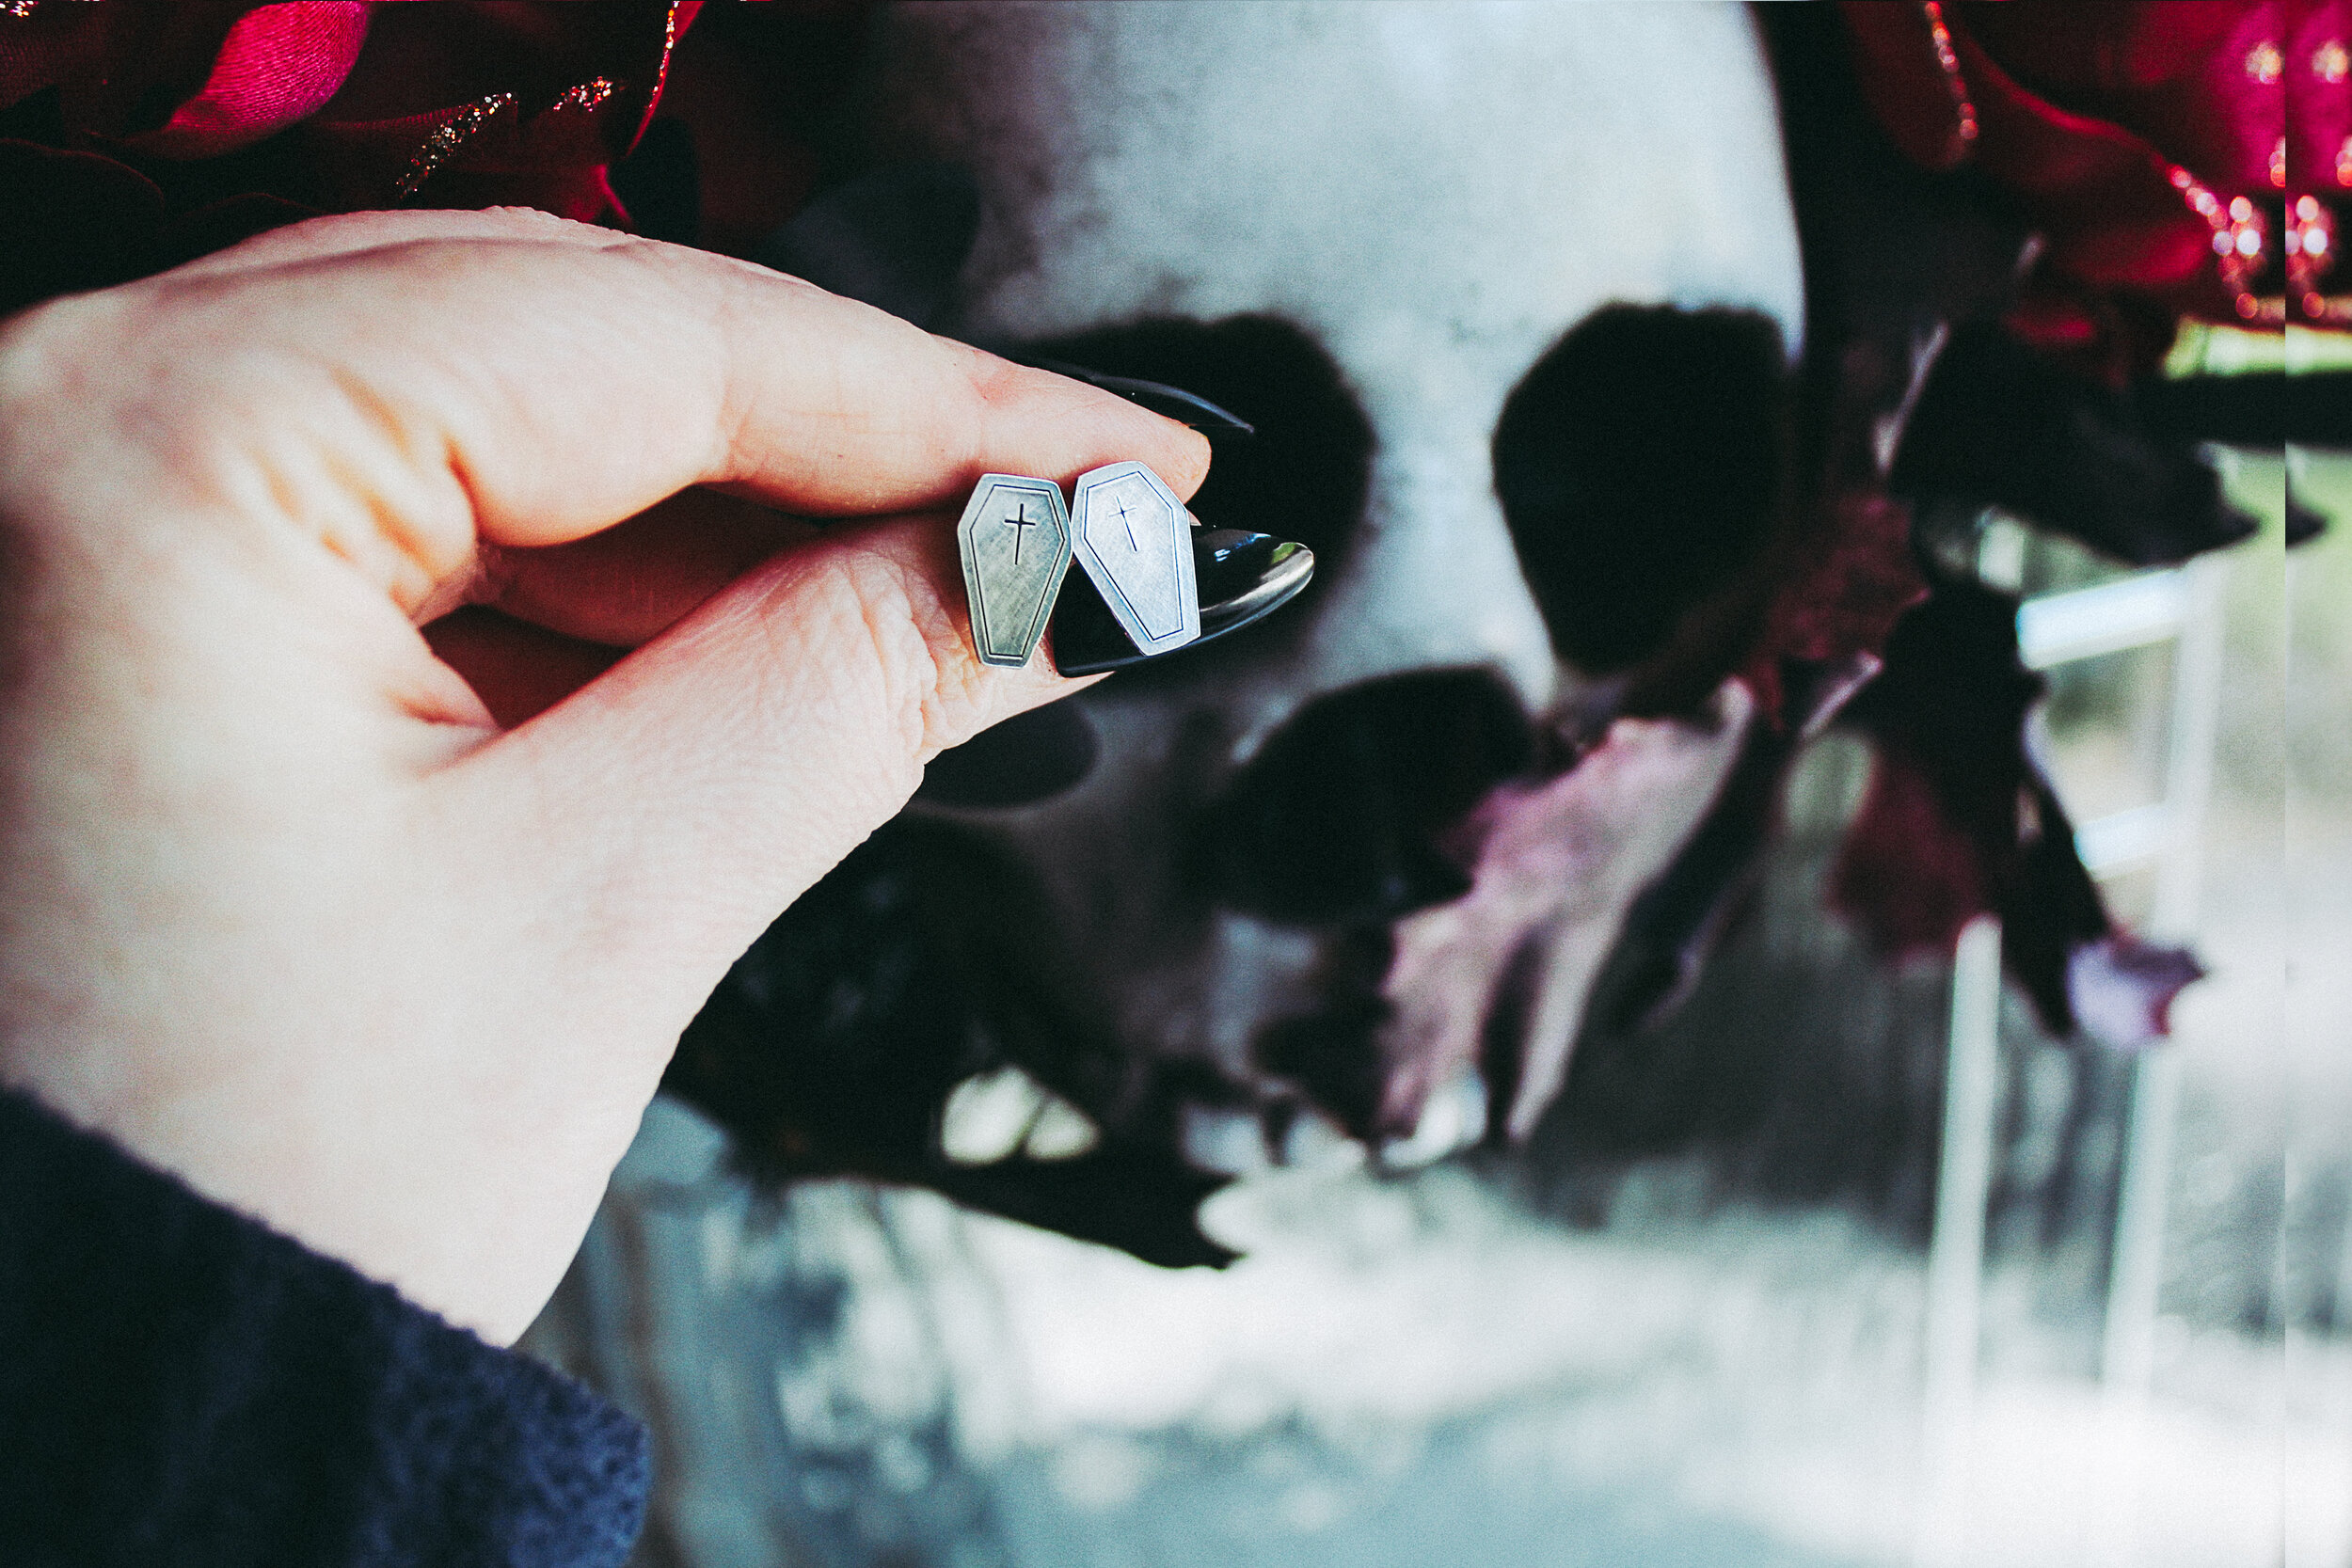
Click through the gallery below to see how they were made!
On a piece of scrap silver, I stamped out each coffin
I stamped a cross to the upper part of each coffin to make it less plain
I drew an outline around each coffin using a sharpie pen and then used a jeweler’s saw to cut along the line. I use this saw.
Using a small file, file off the wonky bits. Yes, that is a technical term.
Solder on your earring post, making sure to flux each piece well
Toss the earrings into pickle to clean off the fire scale. I use a natural pickle consisting of white distilled vinegar and iodized salt
Remove from the pickle when cleaned, rinse, and toss into the tumbler to finish smoothing out those wonky bits and to test the solder joins
Dunk them into liver of sulfur to get a nice dark patina
Use steel wool to brush off some of the patina until you achieve your desired finish
Hang out in random places with really bad fake nails taking photos of your finished product while simultaneously avoiding the neighbors stares and cursing yourself for never taking a photography course